The Kitchen Remodel Checklist
Fortunately, the order of kitchen remodel steps involves significant lead time that will allow you to get ready for meal prep elsewhere in the house before we start to demo kitchen cabinets, etc. Once you understand the kitchen steps, we will provide advice on how to cook during a kitchen remodel so you don’t blow your budget on restaurant tabs.
1. Consultation and Design Phase: 1-2 months
Long before we start gutting a kitchen, there are intensive consultation and design meetings where we work with you on a customized plan, drawings, etc. We’ll make all the preparations like ordering materials and planning the work during this phase. We will advise you on budgeting, picking the best materials for your needs, and also provide ideas to help your family prepare to cook away from your traditional kitchen space. These weeks are definitely the time to start packing up your kitchen and storing everything someplace safe from the dust and demolition. Remember to set aside the things you’ll need for cooking in another part of your home.
2. Construction Contract & Scheduling
After the contract is signed and the start date is scheduled, it’s definitely time to start packing up your kitchen and storing everything someplace safe. Remember to set aside the things you’ll need for cooking in another part of your home, such as your coffee maker, crockpot, Instant Pot, toaster oven, and microwave.
3. Old Kitchen Demolition: 2-4 Days
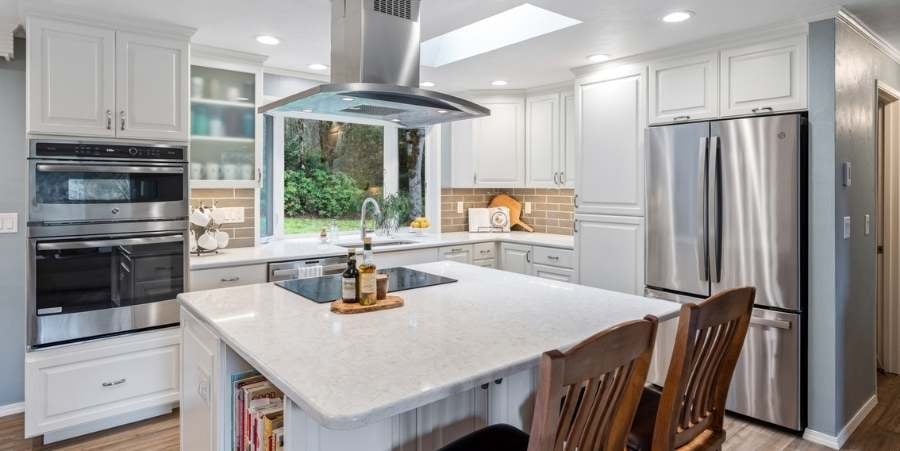
Depending on the size and the scope of your remodel, demolition and framing could take 2 to 4 days. This process is noisy and unpleasant, so it might make sense to take a short trip to the coast for some peace and quiet over these few days.
4. Rough-In: 3-6 Days
After demolition and framing are complete, our lead carpenter and production coordinator layout the exact locations of all plugs, switches, and plumbing locations. Once this is complete, our plumber, electrician, and HVAC trades will rough-in the first stage of plumbing, electrical, and venting.
5. Pre-Drywall Check, Insulation, Drywall, Painting & Flooring: 5-8 Days
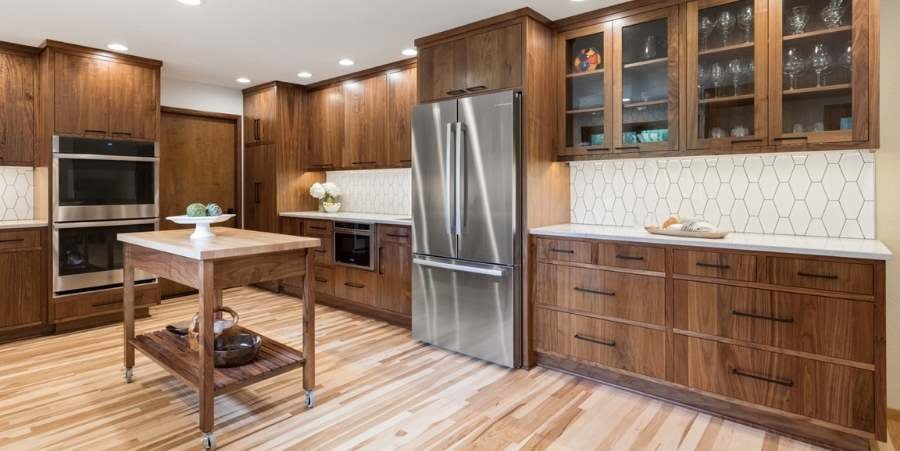
At this stage, we complete a pre-drywall check to ensure all electrical outlets and plumbing fixtures are in place and any insulation removed at demolition is replaced. Drywall is installed, followed by painting and flooring. To protect your new flooring, we finish this stage of construction by installing the appropriate protective covering.
6. New Kitchen Countertops Installed: 7-10 Days
The kitchen cabinets need to be installed first so the countertop fabricator can template your countertops accurately. Template takes a few hours and then they head back to the shop to begin the fabrication process. Installation typically takes place 5 to 7 business days after template. It only takes about one day to put them in.
7. Interior Trim & Tile Backsplash: 2-4 Days
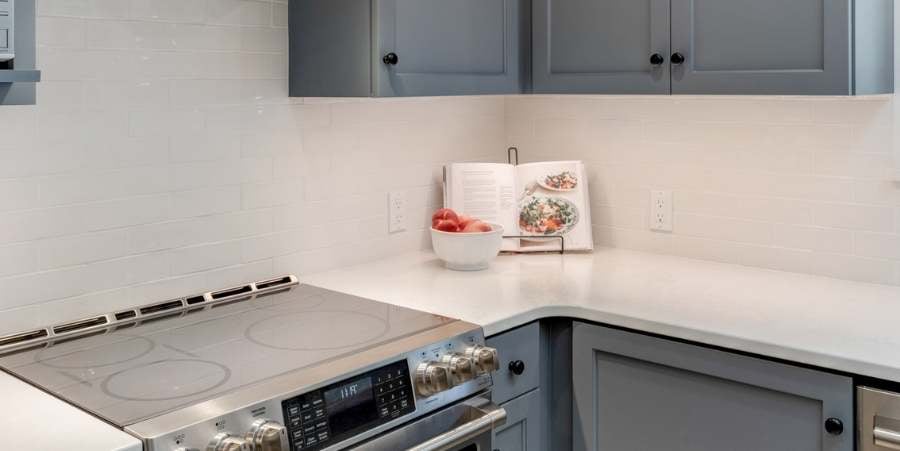
Your kitchen transformation begins taking shape as we install new window, door, and base trim and the tile installer starts setting your new tile backsplash. This is where things really start to get beautiful, and you see those gorgeous details come together.
8. Trim Out:2-3 Days
The plumber returns to install your dishwasher, faucet, sink, and garbage disposal. The electrician hooks up power to the dishwasher and installs undercabinet lighting, ceiling lights, plugs, and switches.
9. Detail Work, Touch-ups, Clean-up, and Inspection: 3 Days
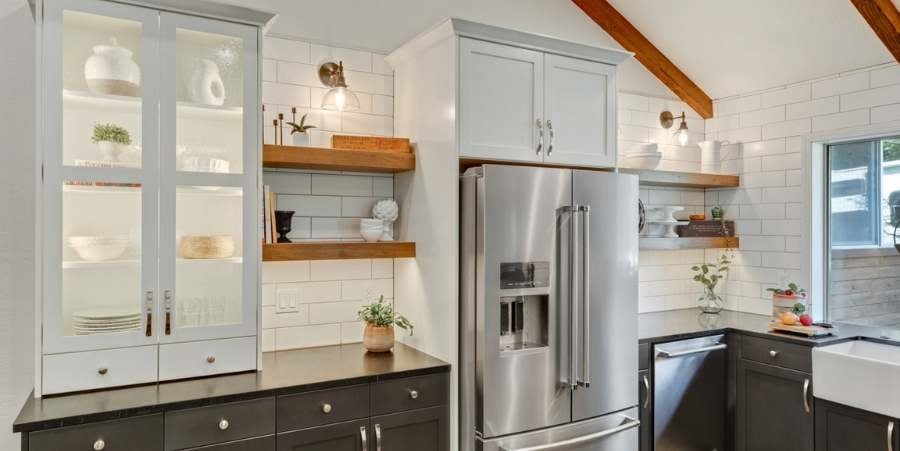
At this stage, all aspects of your kitchen remodel will be fully inspected for code compliance, safety, and functionality. We’ll schedule a walk-through with you to make sure everything has been completed to your specifications. We finish any touch-ups, adjustments, and clean-up so you can move back into your kitchen!
Reducing Kitchen Remodeling Stress
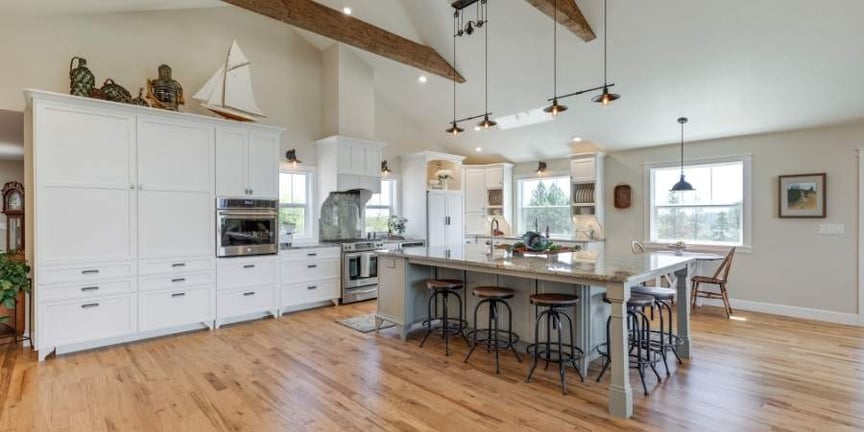
During those first couple of planning months, make sure to get ready for meal prep outside of your kitchen. Many of our clients have used these strategies to cook during a kitchen remodel, so they didn't have to eat out every night, which can really bust the budget. So, you might find these ideas helpful:
1. Decide Where your Makeshift Kitchen Will Be
Pick a place where you can place a large table for preparing food. While you are packing up your kitchen, keep things like the microwave, blender, Instant Pot, slow cooker, or waffle maker out, as well as plates, bowls, and utensils. Invest in a really good, large cooler or a small fridge. Also, consider what you will use for temporary kitchen sinks.
2. Pack Everything
Remove everything from the kitchen and pack it so that it will be easy to quickly unpack once the kitchen is done. Just remember to set aside items that you’ll need for your makeshift kitchen. When boxing up the contents of your drawers and cabinets, don’t forget your cookbooks, any computers, artwork, chairs, tables, etc.
3. Cooking Outside the Kitchen
Collect recipes for microwave, crockpot, and toaster oven meals. If you’ve got a grill outside, you can use that too! Prepare a bunch of single-serving freezer meals that can be heated up in the microwave also.
4. You Don’t Have to Cook Everything
Salads, sandwiches, fresh fruits and veggies, and smoothies (remember to keep your blender with you) are all quick, easy meals to throw together after a long day without much work or equipment.
Contact the Kitchen Remodel Contractor Corvallis Trusts
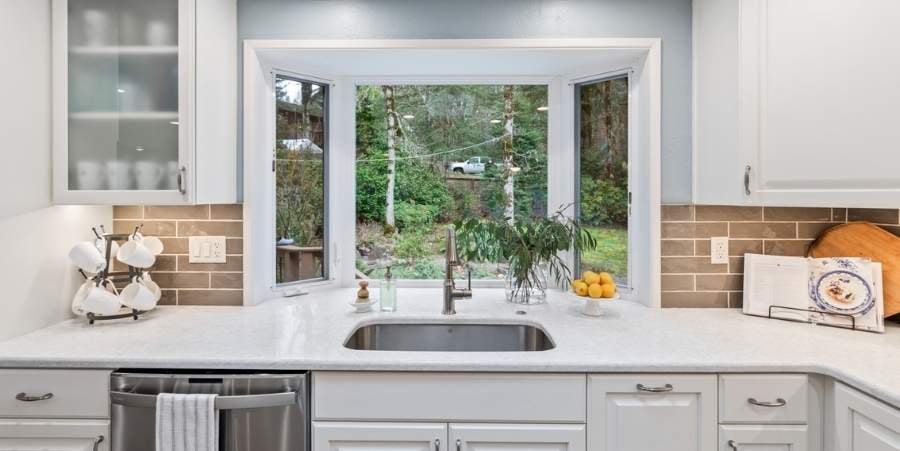
Getting a kitchen makeover may have its stresses, but if you prepare well ahead of time, it is not only survivable, but it can be a bit of an adventure too! Finally, you can enjoy a wonderful new kitchen that works and looks better than ever. Contact us today to schedule a personal consultation to discuss your dream kitchen!

